
 how-to
DIY Painting Kits for Beginners: A Complete Guide
Table of Contents
- What to Look for in a DIY Painting Kit for Beginners
- Beginner Acrylic Painting Kits: What's Inside and Why It Matters
- Painting Kits for Kids: Choosing Age-Appropriate Options
- Paint by Numbers Kits for Beginners: A Guided Approach to Your First Project
- Step-by-Step Painting Kits: Setting Up and Starting Your First Painting
- Common Beginner Mistakes and How to Avoid Them
- Frequently Asked Questions
Last Updated: October 21, 2026
What to Look for in a DIY Painting Kit for Beginners
A quality DIY painting kit for beginners should include everything needed to complete a first project without multiple store trips or hours of supply research.
Acrylic paints are ideal for beginners: they dry quickly, clean up with water, and work on multiple surfaces. Look for a vibrant paint set with essential colors, reds, blues, yellows, whites, and blacks, that let you mix virtually any shade.
Variety of brush sizes and types matters more than quantity: flat brushes for broad strokes, round brushes for detail, and possibly specialty brushes. Bristles should feel firm but not stiff and hold their shape after cleaning.
Canvas is traditional, but kits may include canvas boards (affordable, lightweight) or pre-stretched canvases (ready to display immediately).
Extras like a palette, palette knives, water containers, and instructions eliminate early frustration. Our beginner kits are designed with this completeness in mind, ensuring artists have everything needed to start creating without gaps in their setup.
Beginner Acrylic Painting Kits: What's Inside and Why It Matters
Acrylic paints are water-based pigments suspended in acrylic polymer, making them forgiving: mistakes can be painted over once dry, and the learning curve is gentler than with oils.
A complete paint set typically includes 12 to 24 colors. Beginners actually benefit from a smaller palette: primary colors plus white and black form the core, and secondary colors like greens and oranges expand possibilities without overwhelming choice.
Brush quality directly affects your experience. Synthetic brushes work well with acrylics and cost less than natural hair brushes. A starter set should include:
- Flat brushes in sizes 4, 8, and 12 for coverage and blocking in color
- Round brushes in sizes 4 and 8 for detail and line work
- One larger mop or wash brush for backgrounds
- A detail brush for fine work
Thicker canvas (around 10 oz) resists buckling when wet, and medium texture provides enough tooth for adhesion without being rough. Pre-stretched canvases eliminate stretching bars and staples.
Ceramic or plastic palettes with wells keep colors organized and prevent accidental mixing. Palette knives apply paint directly to canvas for texture or mix paint thoroughly.
Painting Kits for Kids: Choosing Age-Appropriate Options
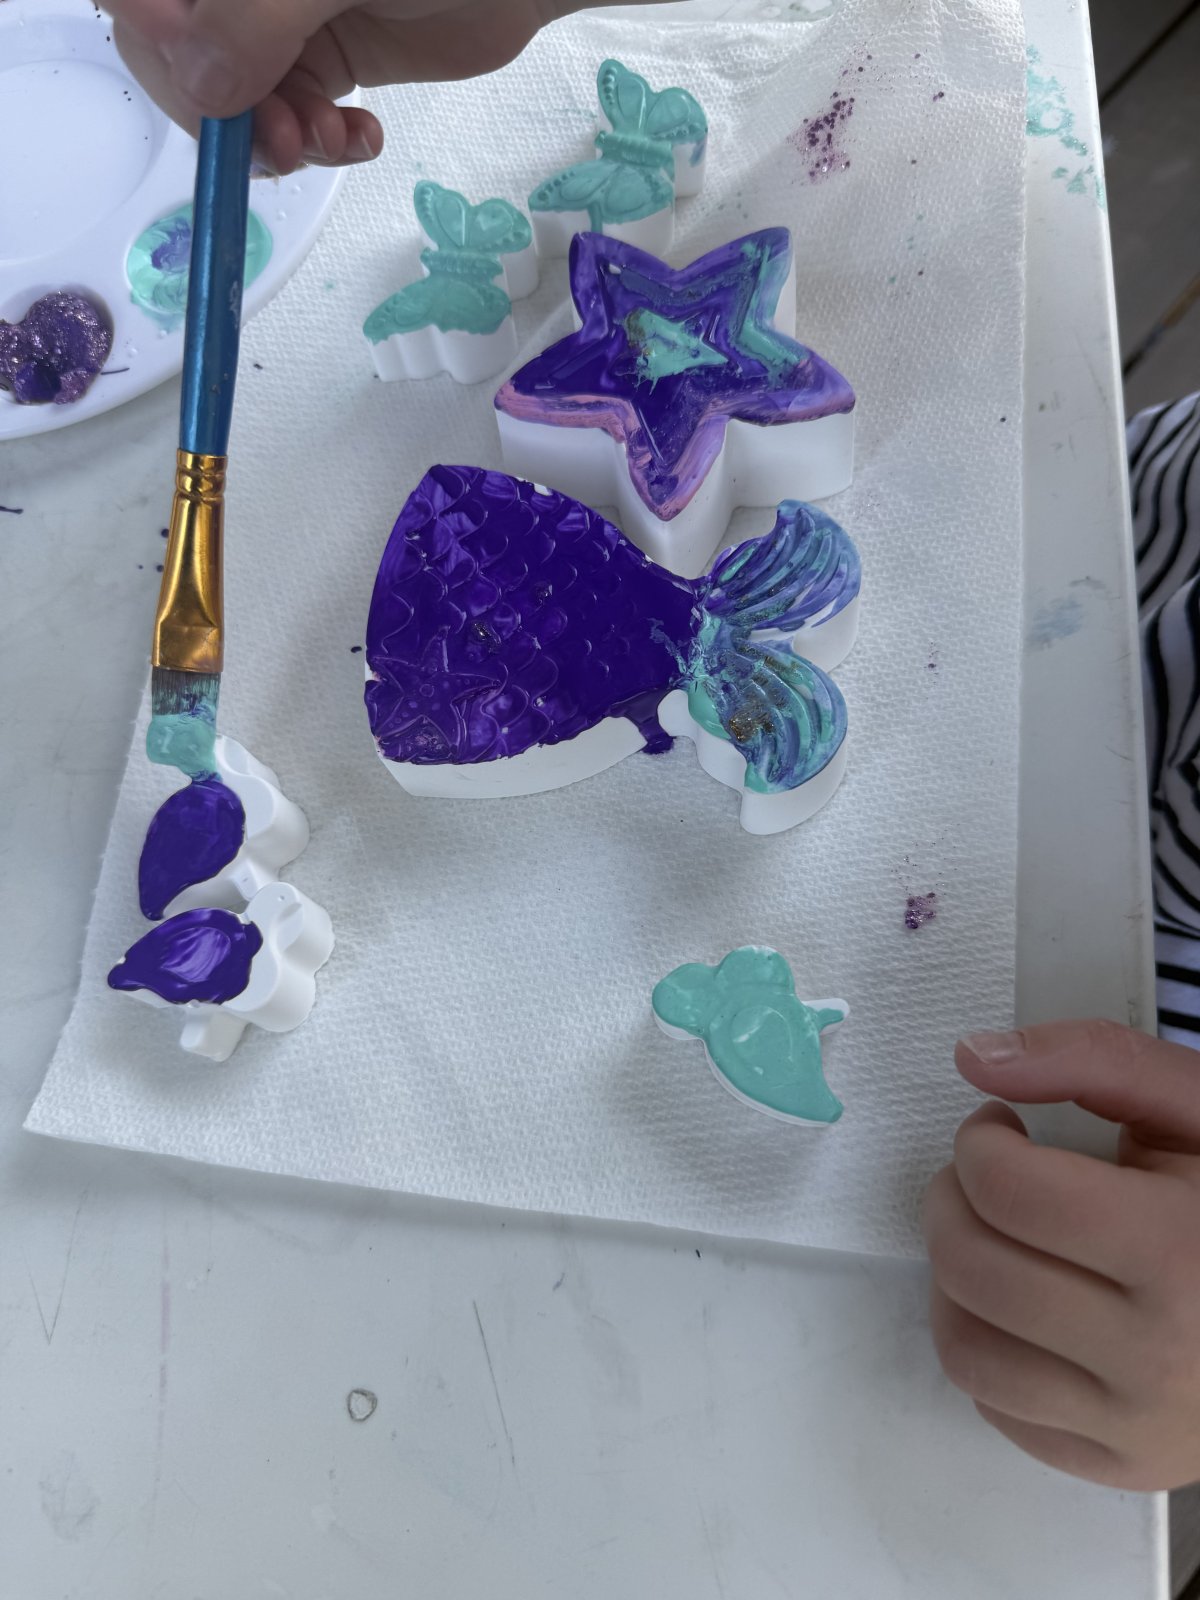
Kids' kits require different considerations than adult kits: safety, durability, and engagement shift with age. Younger children need non-toxic paints, larger easy-grip brushes, and surfaces that tolerate mistakes.
For children ages 4-6, look for kits with thick, chunky brushes and larger surfaces. Canvas boards or pre-stretched canvases work better than thin paper that tears easily. Paint sets should use child-safe, non-toxic acrylics or tempera paints. Fewer colors (6-8) reduce decision paralysis and teach basic mixing without overwhelming young artists.
Children ages 7-10 can handle standard beginner kits with more complexity and benefit from step-by-step instructions. Paint-by-numbers style kits build confidence through visible results, motivating continued creative exploration.
Teens can graduate to full beginner acrylic kits similar to adult sets; the main difference is instruction level. Materials explaining techniques and offering project ideas maintain engagement, and many teens prefer choosing their own projects over predetermined designs.
Durability matters with kids' kits: synthetic bristles withstand rougher handling than natural hair, plastic palettes resist breaking better than ceramic, and canvas boards and pre-stretched canvases are more forgiving than loose canvas.
Paint by Numbers Kits for Beginners: A Guided Approach to Your First Project
Paint by numbers kits remove the intimidation factor that stops many people from trying painting. These structured kits work by dividing a canvas into numbered sections, each corresponding to a specific paint color. You simply match the number to the color and fill in the space.
The advantage is immediate success: you complete a recognizable painting regardless of skill, building confidence and often sparking interest in advanced techniques. These kits also serve as affordable practice tools before investing in freestyle supplies.
Better kits include pre-printed canvases with clear, legible numbers that don't smudge and paint colors accurately matched to those numbers. Brush quality affects how cleanly you apply paint to small sections; cheap brushes shed bristles or don't hold enough paint.
These kits teach brush control and color application without requiring composition or design skills. Completing one teaches how brushes behave, how long paint takes to dry, and how colors interact, foundational knowledge for freestyle painting.
DIY painting kits for beginners like paint by numbers come in various complexity levels. Simple kits have 8-12 colors and large numbered sections. Advanced versions include 20+ colors and intricate detail sections. Choose based on your experience level and available time, simple kits take 3-5 hours, while complex ones may require 15-20 hours across multiple sessions.
Step-by-Step Painting Kits: Setting Up and Starting Your First Painting
Preparing Your Workspace
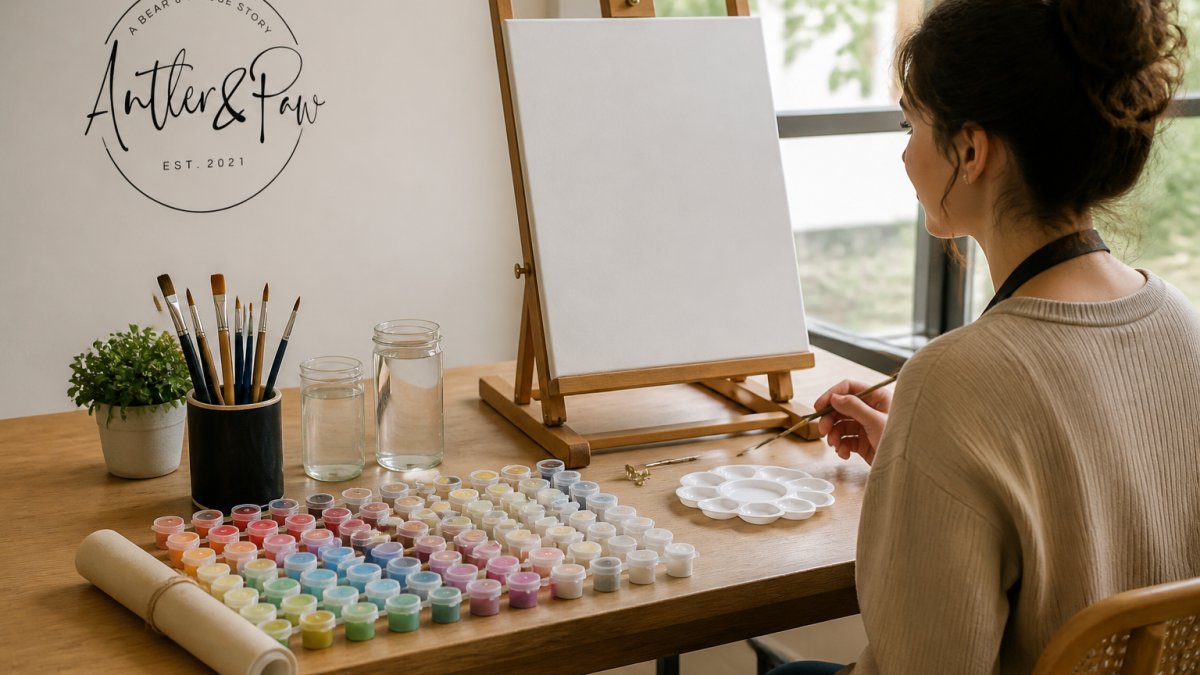
Find a flat surface with good lighting, natural light is ideal, but a desk lamp works if positioned to avoid shadows. Protect your surface with newspaper, a plastic tablecloth, or a painting mat. Acrylic washes off while wet but stains permanently once dry.
Organize supplies within arm's reach and tilt your canvas slightly toward you rather than flat. Position palette, water, and paper towels on your non-dominant side to avoid reaching across and smudging wet paint.
Fill your water container for rinsing brushes between colors and thinning paint. Keep a second clean container nearby, one for rinsing, one for final cleaning, and paper towels or cotton rags within reach for drying brushes.
Understanding Your Supplies
Before painting, squeeze a small amount of each color onto your palette. Acrylic from the tube is thick and creamy, good for most painting, but you can thin it with water to create washes or transparent layers.
Dip a brush in water, then paint. Bristles should absorb paint evenly and hold their shape. If they splay or feel stiff, the brush may be poor quality or have dried paint in the bristles, clean thoroughly with warm water and brush cleaner.
Run your hand across the surface. A pre-primed canvas should feel slightly absorbent but not rough; canvas board should have clean edges and a flat surface without warping or dents.
Beginning Your First Stroke
Start by lightly sketching your composition with a pencil if you're painting freestyle. This sketch serves as a guide and can be painted over, pencil marks disappear under acrylic paint. If you're using a paint by numbers kit or following a tutorial, the design is already provided.
Thin your first paint color slightly with water. This makes it easier to apply and helps you see the canvas through the paint, which prevents overworking areas. Dip your brush and test the paint on a spare piece of paper or cardboard before committing to your canvas. This shows you how much paint the brush holds and how the color appears.
Apply your first strokes with confidence. Acrylic dries quickly, so hesitant, slow strokes can leave visible brush marks. Use deliberate movements and don't overwork an area, paint over it once it's dry if you want to change it. This is the beauty of acrylic: mistakes become learning opportunities rather than disasters.
Build up your painting in layers. Start with lighter colors or background elements, then add darker colors and details. This approach prevents you from accidentally covering important elements with background paint. As you work, step back periodically to see the overall composition rather than focusing only on the area directly under your brush.
Common Beginner Mistakes and How to Avoid Them
Understanding common pitfalls helps you navigate them before they derail your painting experience. The most frequent mistake is using paint straight from the tube without adjusting consistency. Thick paint can create visible brush strokes or lumpy texture.
Many beginners overwork their paintings. Once you've applied paint to an area, resist the urge to keep brushing it. Acrylic dries quickly, and repeated brushing can disturb the paint layer beneath, creating muddy colors and visible brush marks.
Improper brush cleaning ruins brushes quickly. Dried acrylic paint hardens in the bristles and makes them stiff and unusable. Rinse brushes immediately after use under running water.
Choosing the wrong canvas surface frustrates beginners. Thin paper or low-quality canvas buckles when wet or tears easily, creating a negative experience. Invest in proper canvas or canvas board that can handle water and paint without warping.
Many beginners mix too many colors on their palette, creating a muddy mess. Start with 3-4 colors per painting. Learn to mix these colors to create variations rather than reaching for a new color every time.
Another common issue is inadequate lighting. Shadows on your canvas make it difficult to see what you're actually painting, leading to unexpected color shifts when you move to better lighting. Paint in bright, even light whenever possible.
Finally, beginners often abandon projects prematurely. Acrylic paintings often look rough or incomplete mid-process. This is normal. Continue working, let layers dry fully, and add details gradually. What looks unpromising at the halfway point often becomes a satisfying finished painting with patience.
Mistake | Solution | Impact |
|---|---|---|
Using paint too thick | Thin with water to proper consistency | Smoother coverage, reduced brush marks |
Overworking wet paint | Apply decisively, let dry before adjusting | Cleaner colors, better final result |
Not cleaning brushes immediately | Rinse under running water right after use | Brushes last longer, perform better |
Wrong canvas surface | Use proper canvas or canvas board | Prevents buckling, tearing, frustration |
Mixing too many colors | Limit to 3-4 colors, practice mixing | Cleaner compositions, better color harmony |
Poor lighting | Paint in bright, even light | Accurate color perception, better decisions |
Abandoning mid-process | Continue working through rough phases | Finished paintings, continued motivation |
Starting with the right DIY painting kit removes barriers to creative expression. When supplies are organized, materials are quality, and instructions are clear, you can focus on the actual joy of painting rather than struggling with inadequate tools.
Frequently Asked Questions
What should a beginner painting kit include?
A solid beginner painting kit includes acrylic paints (at least 12 vibrant colors), multiple brush sizes and types (round, flat, detail), a canvas or painting surface, a palette for mixing colors, water cup, palette knife, and step-by-step instructions. Some kits also include an easel for proper setup. The key is having enough variety to complete a project without overwhelming choices. Look for kits labeled 'complete' or 'everything you need'—these are designed specifically for first-timers.
How do you choose a DIY painting kit for beginners?
Consider your skill level, project type, and available time. Beginner acrylic painting kits work best for most first-timers because acrylics dry quickly and are forgiving. Check if the kit includes step-by-step instructions—these guide you through each stage. If painting with kids, choose painting kits for kids with non-toxic supplies and simpler designs. Paint by numbers kits for beginners are ideal if you prefer guided projects. Compare kit contents against the price, and verify that supplies are professional-grade enough to produce results you'll be proud of.
Are acrylic painting kits good for beginners?
Yes. Acrylic paints are ideal for beginners because they dry quickly, are water-soluble, and forgive mistakes better than oils. They work on multiple surfaces—canvas, glass, fabric—so you can explore different project types. Beginner acrylic painting kits typically include pre-selected color palettes that teach color mixing without overwhelming options. The fast drying time means you can layer and make corrections within minutes, building confidence as you work.
How long does it take to finish a beginner painting kit?
Most beginner projects take 2-4 hours for a first attempt, depending on complexity and your pace. Paint by numbers kits for beginners often take 3-6 hours because the design is pre-drawn. Step-by-step painting kits vary widely—simple abstracts or still lifes may take 1-2 hours, while detailed landscapes could take 8+ hours across multiple sessions. Don't rush. Beginners benefit from working slowly, observing how colors mix and layers build. Many artists return to their work over several days.